Advanced settings guide
You don’t need to set anything to get started: type your text, pick a handwriting and a color, then save. If you want control over the details, tap “Advanced settings” below the ink colors. The settings open next to the paper on a computer and from the bottom of the screen on a phone, and every change shows on the paper right away.
Press “Surprise me” a few times until you like something, then open the advanced settings and fine-tune it. To undo a surprise, press “Undo” in the message at the bottom of the screen.
Pen type
Three ready-made buttons change all the pen settings in one tap:
- Rollerball pen
- The starting setting: calmer, clearer and slightly larger writing, with a solid stroke that is wider than a ballpoint.
- Ballpoint pen
- Everyday writing with a ballpoint pen: an even line and more natural movement.
- Pencil
- Gray graphite with a grainy texture that breaks up on the paper’s tooth, and a slight sheen. Pencil is always gray, so the ink colors fade when you choose it, and picking any color switches you back to “Rollerball pen”.
Pick one, then adjust anything you like in the advanced settings. The examples in this guide are written with the “Ballpoint pen” settings.
Handwriting
Choosing a handwriting
Choose a font from the list, or from “All fonts”, where the first words of your text appear in every font so you can see how it will look before you pick it. You can also search by font name.
- Tip
- The fonts under “Recommended handwriting” look the most like real handwriting.
Fonts “On your device”
Some computers come with handwriting fonts installed, such as Bradley Hand and Noteworthy on Apple devices, or Segoe Print and Ink Free on Windows. If your device has them, they appear in the list. They are shown from your device only, so people on other devices won’t see them.
Try your own font
Have a font file in TTF or OTF format? Add it from “Have another font?” and it will appear in the list as “Your font”. The font runs inside your browser only and is never uploaded to any server.
Pen
These settings matter most for making the writing look handwritten.
Pen character
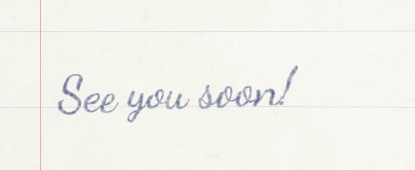
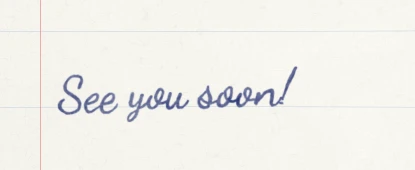
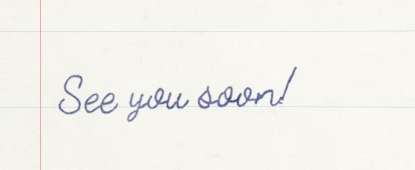
Some fonts are designed for a broad calligraphy pen, so some strokes are thick and others thin, while a ballpoint pen writes with a nearly even line. This setting turns the first style into the second. Most handwriting fonts are already close to an even line, so the difference shows mostly in calligraphic fonts such as Dancing Script, used in the examples below.
- Lower it
- when you want the original look of the font, as if written with a calligraphy pen.
- Raise it
- when you want everyday ballpoint writing, which is closest to real life.
Pen thickness
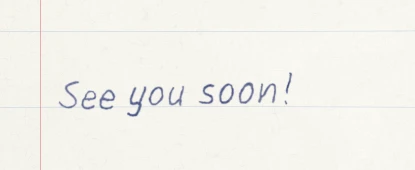
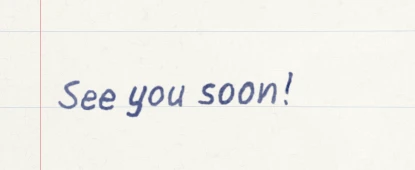
The width of the line the pen draws. A regular ballpoint is about 1.8 pixels.
- Note
- This setting works when “Pen character” is high, because it controls the thickness of the ballpoint.
Writing size
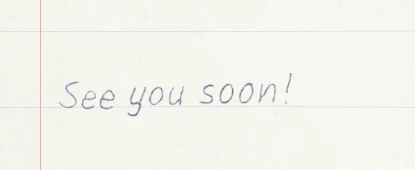
The size of the letters on the paper. You’ll find it on the main screen, right below the fonts, not in the advanced settings. The larger the size, the fewer words fit on each line, and words move to a new line automatically.
Naturalness
Controls the tilt of the words, the wave of the line and the slight wobble in the letters. These small details are what make the writing look like it was written by a person.
- Lower it
- for neat, careful writing, like a greeting card.
- Raise it
- for quick or rushed writing, like a hasty note.



Paper
Orientation
Landscape paper suits posts and presentations, and portrait paper suits stories and phone wallpapers.
Alignment
There are two buttons below the ink colors: “Center”, the starting setting, and “Left”. With “Center”, each line is centered on its own between the red margin and the edge of the paper, with a small irregular shift, the way people write. With “Left”, every line starts at the margin, as in a notebook.
Writing number
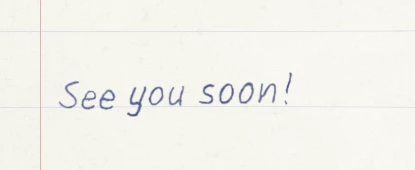
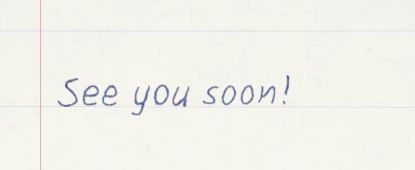
People write the same sentence a little differently every time, and so does the tool. Every variation has a number, and the “Rewrite” button moves to the next one. If you like a variation, note its number so you can get back to it later with the same settings.
White ink and the chalkboard
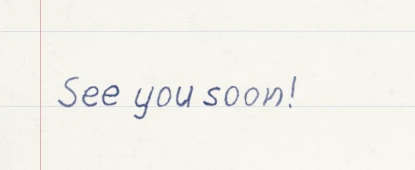
When you choose white ink, the paper turns into a green chalkboard automatically, and the notebook paper comes back when you pick any other color. You can save the writing with the chalkboard, or save it with “No background” to place it on a dark design or photo. If you upload your own paper photo, your photo stays as it is and the white ink shows on it.
Notebook lines and margin
Uncheck it to get plain white paper with no lines and no red margin.
Photo of real paper
Take a photo of a blank page from your notebook or an old sheet of paper, and upload it for the tool to write on. The ink blends into the paper as if it were really written on it.
- For a better photo
- shoot the paper straight from above, in even daylight, with no shadows or fingers in the picture.
Fine-tuning
Settings for the small details. Most of the time you won’t need them.
High resolution
Saves the image at double size, which helps if you will enlarge the writing in a design or print it. On phones it starts off because it is slower and can weigh down older phones. The tool remembers your choice next time.
Pen pressure
How dark the ink is, as if you were pressing the pen hard or lightly.
Thickness variation
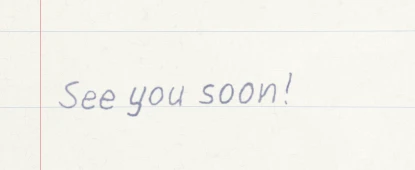
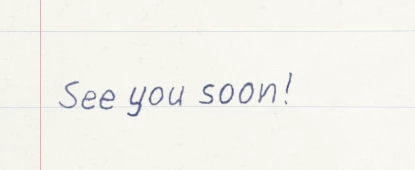
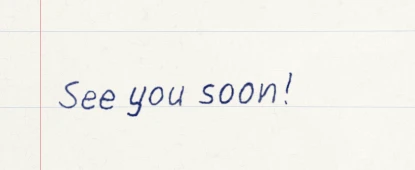
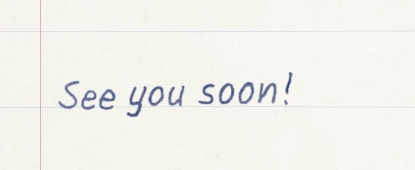
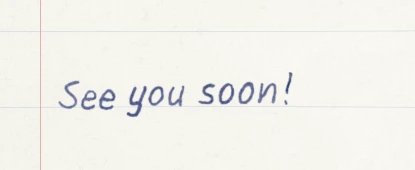
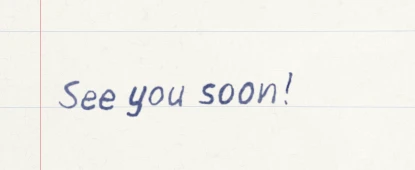
Makes the pen line get slightly thicker and thinner along the stroke, as happens when the pressure of your hand changes while writing. The difference is subtle on purpose and shows more with a broad pen, which is why these examples use a 2.6px pen.
Restore default settings
The last button in the advanced settings. It resets the font, color, pen and paper settings, and removes any image or font you uploaded, but it doesn’t touch your text or the “High resolution” option. If you press it by mistake, press “Undo” in the message at the bottom of the screen.